Internet users are eager for speed and often have only one idea in mind: not to wait a single second before seeing a page load on their screen!
In other words, in order not to scare them away from the get-go, it’s better to have a lightweight website so that it can be displayed in record time! If your pages are too heavy and take ages to appear, you could lose many potential buyers...
To improve the loading speed of your online store, the size of the images is an essential aspect.
Very often, beyond the available network, when a site takes too long to load, it’s because the visuals it contains are too big or too heavy. Rest assured that this is an aspect that can easily be modified! Here are a few resources and the steps to follow to upload images in the ideal format.
Don’t forget this rule that always works: an image should not exceed 100 KB.
Knowing the dimensions of an image
The aesthetics of a site are certainly a key factor for its success. However, the resolution, the definition and the size of your images are also crucial parameters, which must absolutely enter your creation process.
What is the size, weight, and resolution of an image?
When we talk about images, the unit “pixel” is used. For convenience, it’s an element that’s represented by a square shape by photography software.
A pixel is a small shape of color. A digital image is made up of an assembly of millions of pixels, which together form a single element, smooth and uniform in appearance.
Then, three main elements are to be taken into account when talking about an image:
- Definition: This is the number of pixels (px) that make up an image. Therefore, the more pixels there are, the more qualitative the image is. However, the more there are, the heavier the image is.
- Size: This corresponds to the width and height of an image in centimeters or inches. It’s a variable that we consider when we print a visual.
- Resolution: This last parameter is a mix between the definition and the dimensions. It’s about matching how many pixels there are on a given surface. The more pixels there are in relation to the surface, the better the rendering. Nevertheless, the greater number of pixels present, the heavier the image is. It’s a value that’s expressed in PPI (pixels per inch) or DPI (dots per inch).
Note that a pixel doesn’t have a predefined dimension. For example, if you have a well-defined computer screen, the pixels will be very numerous. On the other hand, a low-definition screen has larger pixels. The images are not as sharp.
In reality, this is a crucial parameter when an image is to be printed. The lower the resolution, the more blurred and pixelated the image will appear. Conversely, the more pixels a visual has in relation to its surface, the sharper the printed visual is.
When content is only intended to be displayed on a screen, this parameter has no real benefit. In other words, reducing it means lightening your site pages.
It’s for this reason that on our ecommerce solution WiziShop, on the different layouts that offer the addition of visuals, the ideal size is indicated. This information will help you avoid downloading and uploading images that are too large and that could weigh down your pages.

Why resize an image on the internet?
Whether it’s concerning photos for a website or for social media platforms like Facebook, Instagram, LinkedIn, Twitter, etc., in order for a visual to occupy the appropriate space on the screen, it’s often necessary to resize it. At the same time, it can also be reduced for purely technical reasons.
You’ve probably already been confronted with this problem when sending an image as an attachment to an email... In this case, the weight of the attachment is limited, and it’s sometimes necessary to resize the images sent to reduce them.
Be careful though: when you resize an image, it usually changes the way it looks. Logically, if you reduce the resolution of a visual, it removes pixels. On the other hand, when you enlarge a photo, new pixels are added, sometimes giving a blurred aspect to the final result. Fortunately, software exists to modify this parameter without losing quality.
6 free tools to resize your images
As you can see, in order not to make your pages too heavy, knowing how to resize the images on your site is absolutely essential. In order not to reduce the high-quality appearance of your visuals, here are some resources that will be very useful.
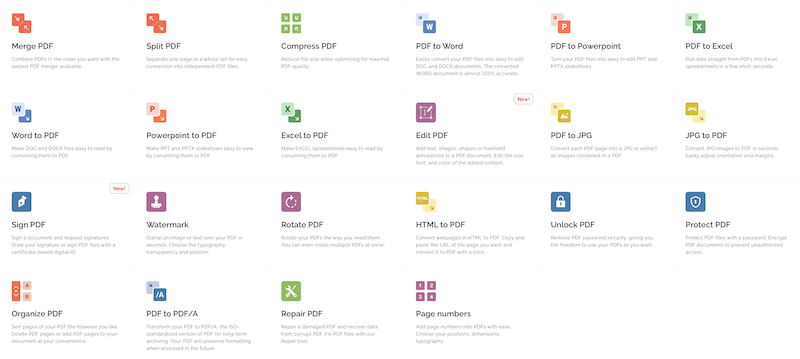
I Love PDF: the most complete
I Love PDF is an application available on mobile, also downloadable as an extension on Google Chrome.
As the name suggests, it allows you to edit PDFs but also to resize images.
With the help of I Love PDF, you can reduce the size of your documents while keeping an optimal result. I Love PDF also allows you to extract all the photos present in a PDF and convert them into JPG. This site is known for the impeccable quality of its compressions. To save you time, it also allows you to reduce the weight of several files simultaneously.
Bloggif
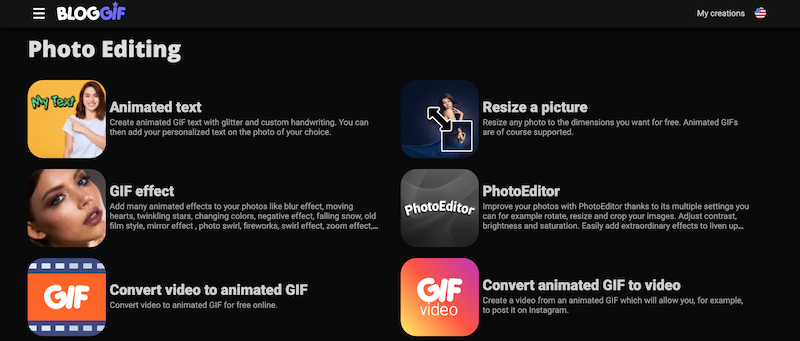
Bloggif is an alternative that allows you to automatically modify the parameters of an image, in a very intuitive way.
It can also be used to rotate the image in a different direction. To do this, you just need to go directly to the site and choose an image to modify.
Then, simply choose a new size, within the limit of 1600 px. You’re free to choose whether or not to keep the proportions of your original visual. The only drawback: Bloggif doesn't offer any direct preview of the visual based on the requested modifications.
ConvertImage
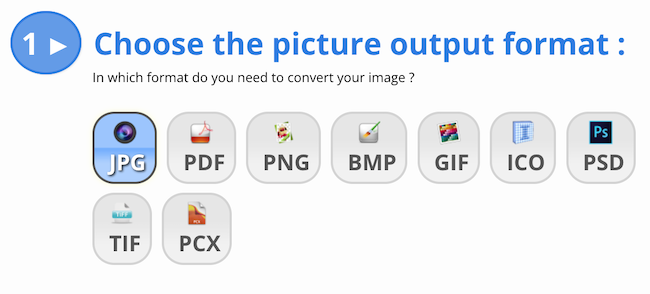
ConvertImage allows you to reduce or change the size of a visual directly online, completely free.
All you have to do is upload a photo and choose the percentage of reduction. The resulting visual preserves the original proportions of the image.
Once the resizing is done, you only need to crop the photo or rotate it, directly online, before downloading it.
Note that this site also has a specific module to optimize an image in order to publish it on the internet. ConvertImage has the advantage of accepting many different formats (BMP, CUR, JPG, PDF, PIC, PNG, PSD...).
EZGIF (for animated GIFs)
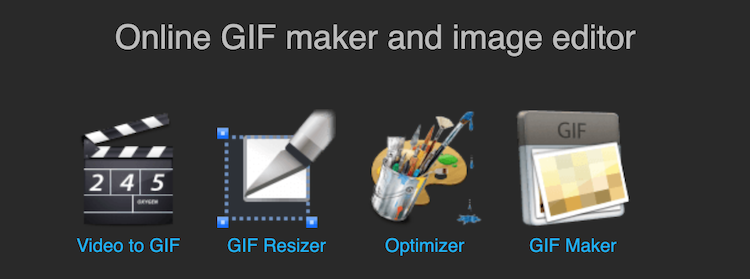
Unlike the previous applications, EZGIF is more specifically dedicated to the optimization and resizing of animated GIFs.
This format has the disadvantage of being quite heavy. It’s a type of visual that’s very likely to slow down your site.
If you choose to use this image format, you should definitely consider modifying it and applying a special compression. With EZGIF, this process is a breeze!
Just go to this site and choose the file you want to modify. This one can be downloaded from your computer or from another site. In this case, you must paste the URL of the visual.
EZGIF then offers different conversion options, which will allow you to keep the animation of your visual or not. It’s then possible to crop or stretch the result obtained.
Simple Image Resizer
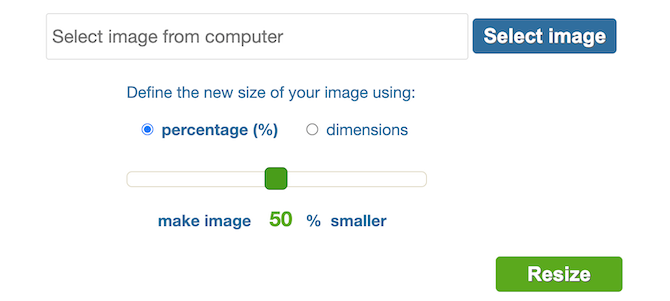
As its name suggests, Simple Image Resizer offers a very simple and intuitive tool. With it, select an image from your computer and adjust it in record time!
To do this, drag the slider until you select your new dimensions. To choose your new image size, you have two options: in percentage or in dimensions. Once the slider is in place, press “Resize” to see the result.
Canva, the best tool for image processing
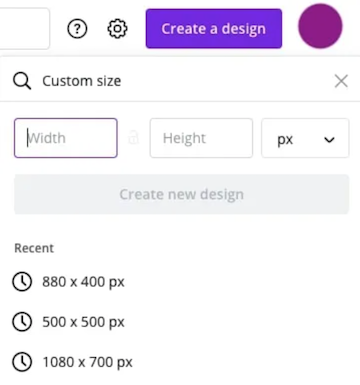
Finally, Canva is a much more accomplished tool. To do this, the site suggests you open your visual and click on "resize".
It then asks you the desired format and suggests several different sizes depending on the medium on which you want to integrate your photo.
In addition, you’re free to choose a custom size or to choose a predefined size for a Facebook cover or for a logo, making it super simple to create visuals that follow the guidelines for the best image sizes for social media. Once you’ve set the parameters, all you have to do is click on “upload” to get the processed image.
Relying on Canva also means being able to manage most of your visuals, presentations, PDFs, and videos without limits!
3 types of software to download to resize your visuals
All the tools mentioned above can be used directly online, without having to install any application on your computer. However, there’s also software to download, which will allow you, once again, to resize your images in a professional way.
Photoshop: the benchmark
A true benchmark in the photo industry, Photoshop is used by all web designers and photographers. More complex, this program is particularly complete.
It allows you to modify the size of a single photo but also to process a complete set of images. Once you’ve mastered it, you’ll save a lot of time!
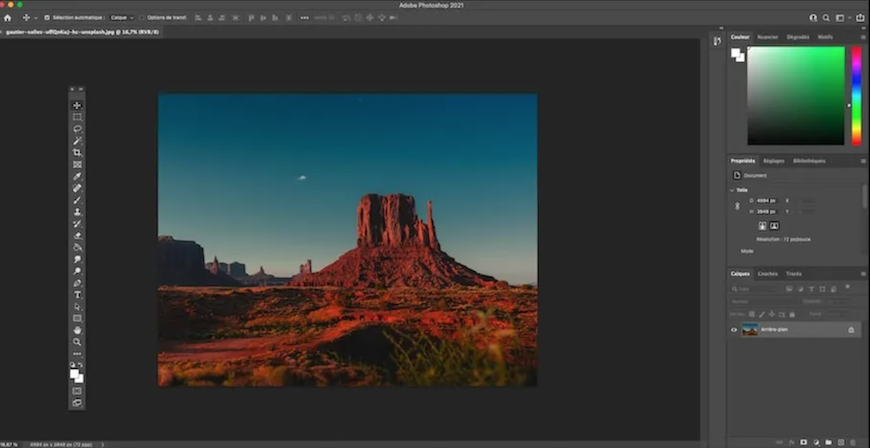
To resize an image, simply go to "image size" and modify the values present.
This software preserves the initial proportions, i.e., the ratio between the width and height of the image. Thus, the resolution is modified, but the image doesn’t enlarge or shrink.
Note, however, that the performance of this photo benchmark comes at a cost: Photoshop is available for a subscription of $19.99 per month.
GIMP: free and complete
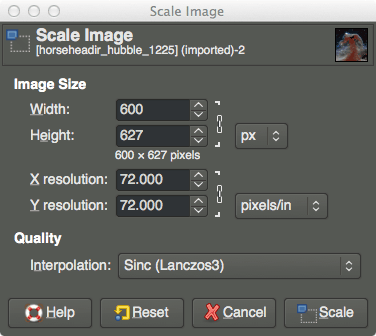
Let’s move on to another free downloadable module: GIMP. With it, decide the level of compression of your photos in a simple and very intuitive way!
To do this, open your photo in GIMP, go to “Scale Image” and modify the data. The proportions are preserved and the resizing is done automatically.
Paint.NET: the historical software
Finally, Paint.NET is another simple and free software to download to reduce the size of your images.
To transform your visual, open your photo and click on the “image” menu. Then, select the “resize” option. This allows you to choose the size of your visual.
Paint.NET adapts your visual proportionally, unless you choose to uncheck the “keep aspect ratio” box. Once this step has been validated, all you have to do is save your new file.
You now know how to resize a photo and reduce its weight! All you have to do now is to use this new knowledge wisely...
Need a final argument to be convinced? In fact, 53% of visitors abandon a site when the page takes more than three seconds to load!
Similarly, 52% of online shoppers admit that fast page loading is a very loyal factor. So don’t wait any longer to change your visuals... The numbers speak for themselves!


